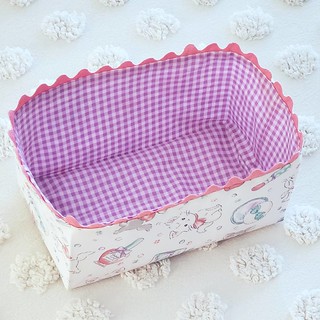
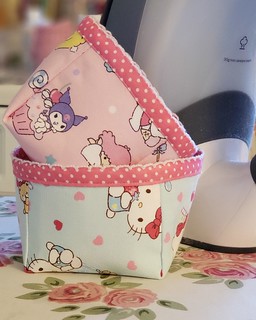
Hi there friends! So a couple of DM'd me on IG to ask me if I had a pattern for my cute little box and I don't. But trust me it's SO EASY you'll be amazed, and these not that great photos and the word salad that goes with them should be enough for you to make one too.
Ok, here we go. The box will measure about 7" x 4" x 4", I say about because your final box size is influenced by how well you sew, and you might sew a lot more accurately than I do, so your numbers could vary slightly.
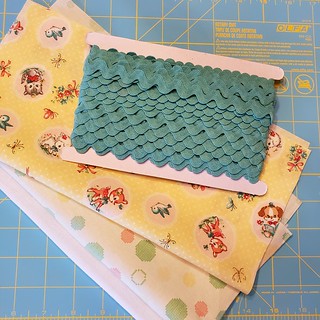
You'll need your basic sewing supplies, two 12" squares of fabric, one for your outer box and one for lining. You'll need a 12" square of stabilizer, I used Shapeflex (Pellon SF101), but you probably have something laying around that will work just as well. This fabric is regular quilt weight and it's stiff enough to suit my fancy. I like how nice Shapeflex fuses to the fabric, I don't get that weird orange peel look that I sometimes get. You'll also need about 28 inches of large rick rack. It takes less, but you want enough to have a nice joining area. I pressed my fabric with a generous amount of spray starch so it's nice and crisp.
RECAP... Two 12" squares of fabric, one 12" square of stabilizer, and rick rack. Seams are 1/4 inch unless noted.
Fuse stabilizer to outside piece of fabric. Fold right sides together and press, stitch side seams. Press seams open. Repeat with lining fabric leaving an opening on one side for turning your box right side out. Press a crease in the bottom of each piece.
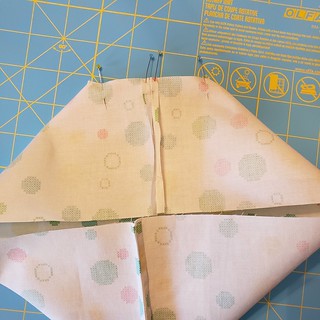
Cut a 2" square off the bottom of each side of both your lining and outside fabric. Fold the side seam to the crease in the bottom of your piece to create one side of the boxed bottom. Repeat on each side of the lining and outside piece.
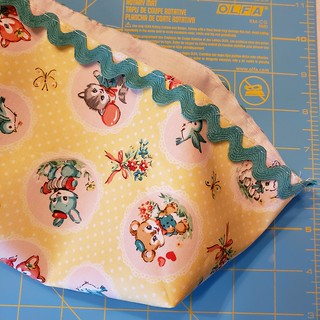
Turn outer fabric right side out, line rick rack up with the top of the outer box fabric and baste in place using a 1/8 inch seam allowance.
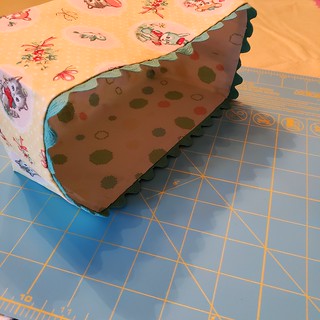
Insert outside box into lining RIGHT SIDES TOGETHER. Match side seams and pin around the top. Stitch all the way around using 1/4 inch seam allowance. Turn right side out through the opening in the lining. Press. Stitch the lining closed by hand or machine.
Stuff your lining down into your box and press well. I used a small folded towel inside the box to press the outside of the box and form nice corners. You can fuss around with it so it looks nice and rectangular.
I am quite happy how it turned out. It's so much fun to make, from fabric selection (both pieces from
Sunny Day Supply) to rick rack matching. Use what you have on hand, it's very easy and just about anything would work. You could leave the top plain or add a ruffle instead of rick rack. Embellish the heck out of it.
The best part of a fun project like this is that it's just 2 squares of fabric... if it turns out crappy you can just throw it away!!! But it's so easy I know you can do it. I hope this slipshod tutorial will help you make one of these boxes or ton of them. Thanks for indulging me. Seriously, so fun.

