Hindsight
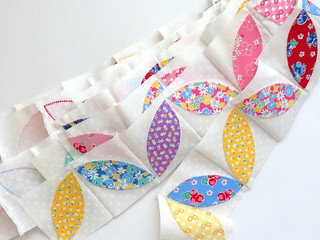
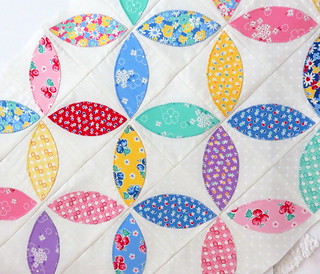
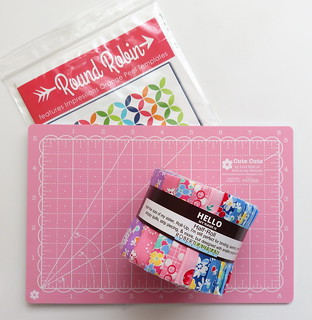
Hi there. As promised, today is my little tip for working with the cool Orange Peel Templates that I received from Fat Quarter Shop. If I had thought of this before I got started I would have ended up a with a much nicer finish.
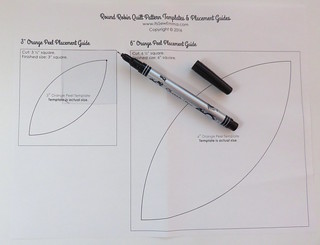
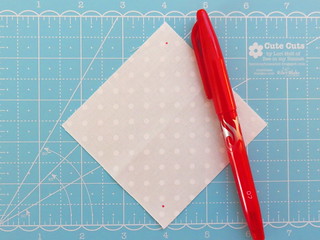
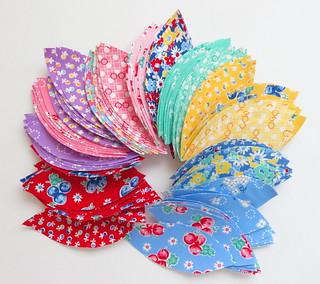
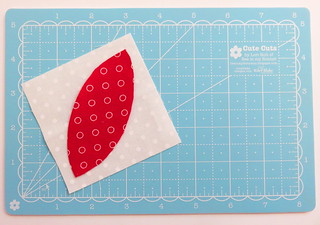
Each of the template sizes in the group has a placement guide for the peel. I laid each background piece over the little guide, and then placed my peel on top. Lining up my fabric on the square was easy, but as you lay the peel onto the background, it's easy for it to shift slightly and you end up with intersections like I had, where the points are slightly off. So while I was stitching away I got to thinking of how way way back in the day when I first started quilting in the back of the covered wagon I mean the late 80s, we used to make little marking templates. So I went about making myself a little marking template out of some template plastic. If you don't have template plastic you could cut a square, mine is 2 inches in this case, out of some plastic packaging or maybe a clamshell berries come in... something rigid and clear is what you need. Or I should say what works best for me. You can see in the photo below that I've put my 2 inch square over my placement guide and with a fine point sharpie pen, marked a dot at the tip of the peel. My template has a 90 degree corner and I lined it up exactly with the square, and that's important. Lucky for me ALL the different sized peel placements in the Round Robin pattern are the exact same distance from the corner so one template works for all points!
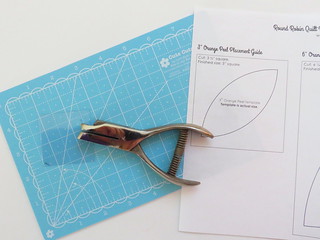
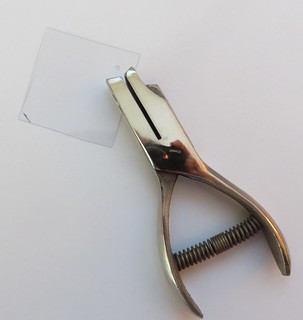
I got out my million dollar 1/16" hole punch and punched a tiny hole there. Back when I started there weren't the same variety of punches as there are now, and I saved up for this one. It makes the tiniest hole that allows for precision placement.
You might be able to see the hole in this close up.
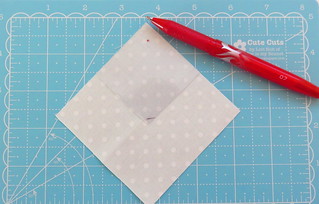
Then I laid the template on my background fabric and made a mark with the temporary marker on both sides.
And the placed my peel. Super cool. Wish I had thought of it before I got started.
Marking like this is good for Y seams as well. Make a little template with the 1/4" to use where you start and stop. It's much quicker than marking with a ruler if you're marking a lot of pieces. And as I said the hole is very small and this punch was made specifically for this I believe.
So that's my little tip. SO MANY WORDS.
HAPPY WEEKEND PEOPLES. xo

